
How to Paint Ceramic Tile to Revamp Your Bathroom on the Cheap
How to Paint Ceramic Tile to Revamp Your Bathroom on the Cheap

Redoing a bathroom doesn’t require a huge budget! Dollar signs might flash before your eyes when you imagine a full, top-to-bottom remodel, but you can give your powder room a fresh new look with a couple of coats of paint on those drab ceramic tiles. And we’re here to help: Here’s a breakdown of how to paint a bathroom with ceramic tiles, so you can wow your guests and any family members who doubted your DIY skills.
Before you pull out your paintbrush, you should know you can’t paint just any tiles. Stay away from any tile that will receive constant exposure to water. Floor tile, wall tile, and countertop tile are all good to go, but stay away from tiles that are actually in the tub or shower.
Tools you’ll need
- Painter’s tape
- Bleach
- Putty knife
- 240-grit wet/dry sandpaper
- 600-grit sandpaper
- Tile cleaner
- Bonded primer that works with ceramic tile
- Tile paint in the color of your choice
- A clear, water-based urethane sealer (optional)
- Painting tools like a roller and brush
- Grout in the color of your choice
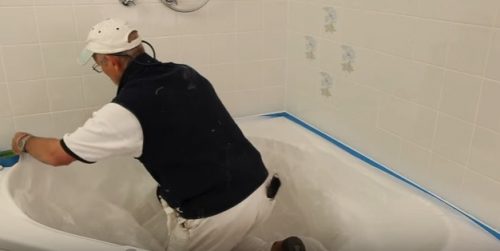
Step No. 1: Tape off the area
Use painter’s tape to protect any areas that you don’t want to be affected by the new color.
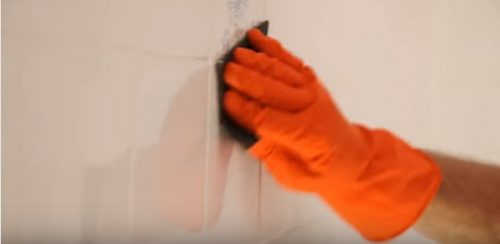
Step No. 2: Clean off the tile

Step No. 3: Prepare the surface
Remove the grout with a putty knife, and sand the current finish off the tile with 240-grit wet/dry sandpaper. Wipe down the tiles with water to remove any dust.
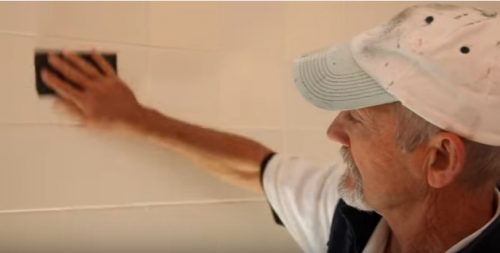
Step No. 4: Apply primer
Working in small sections at a time, apply a thin coat of bonding primer to the tiles by moving your roller in a “V” motion. Then, without refilling the roller, go over the area you’ve just painted with vertical strokes to achieve the best coverage.
Use a paintbrush to access corners and other hard-to-reach areas.

Step No. 5: Sand and apply another coat of primer
Allow the primer to dry completely before sanding it lightly with 600-grit sandpaper. Afterward, go over the area with another coat of primer, using the same motions described above.
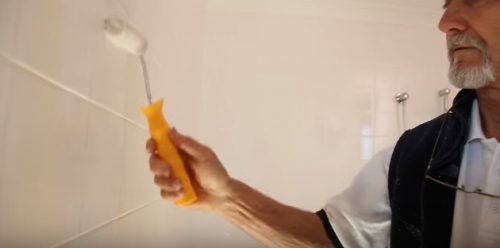
Step No. 6: Sand and apply paint
After the second coat has dried, sand it lightly again.
Paint the tiles with at least two coats of latex paint. Be sure to sand the tiles between coats, and let the tiles dry fully before moving forward with the next step.
Step No. 7: Cover with sealer and replace the grout between the tiles
Once the painting has been completed, you have the option of covering the tiles with two or three thin coats of clear, water-based urethane sealer. While it’s not required, doing so will protect your work from moisture, scuffs, and chips.
Finally, replace the grout between the tiles.

By Tara Mastroeni
Article found: https://goo.gl/J1utST
